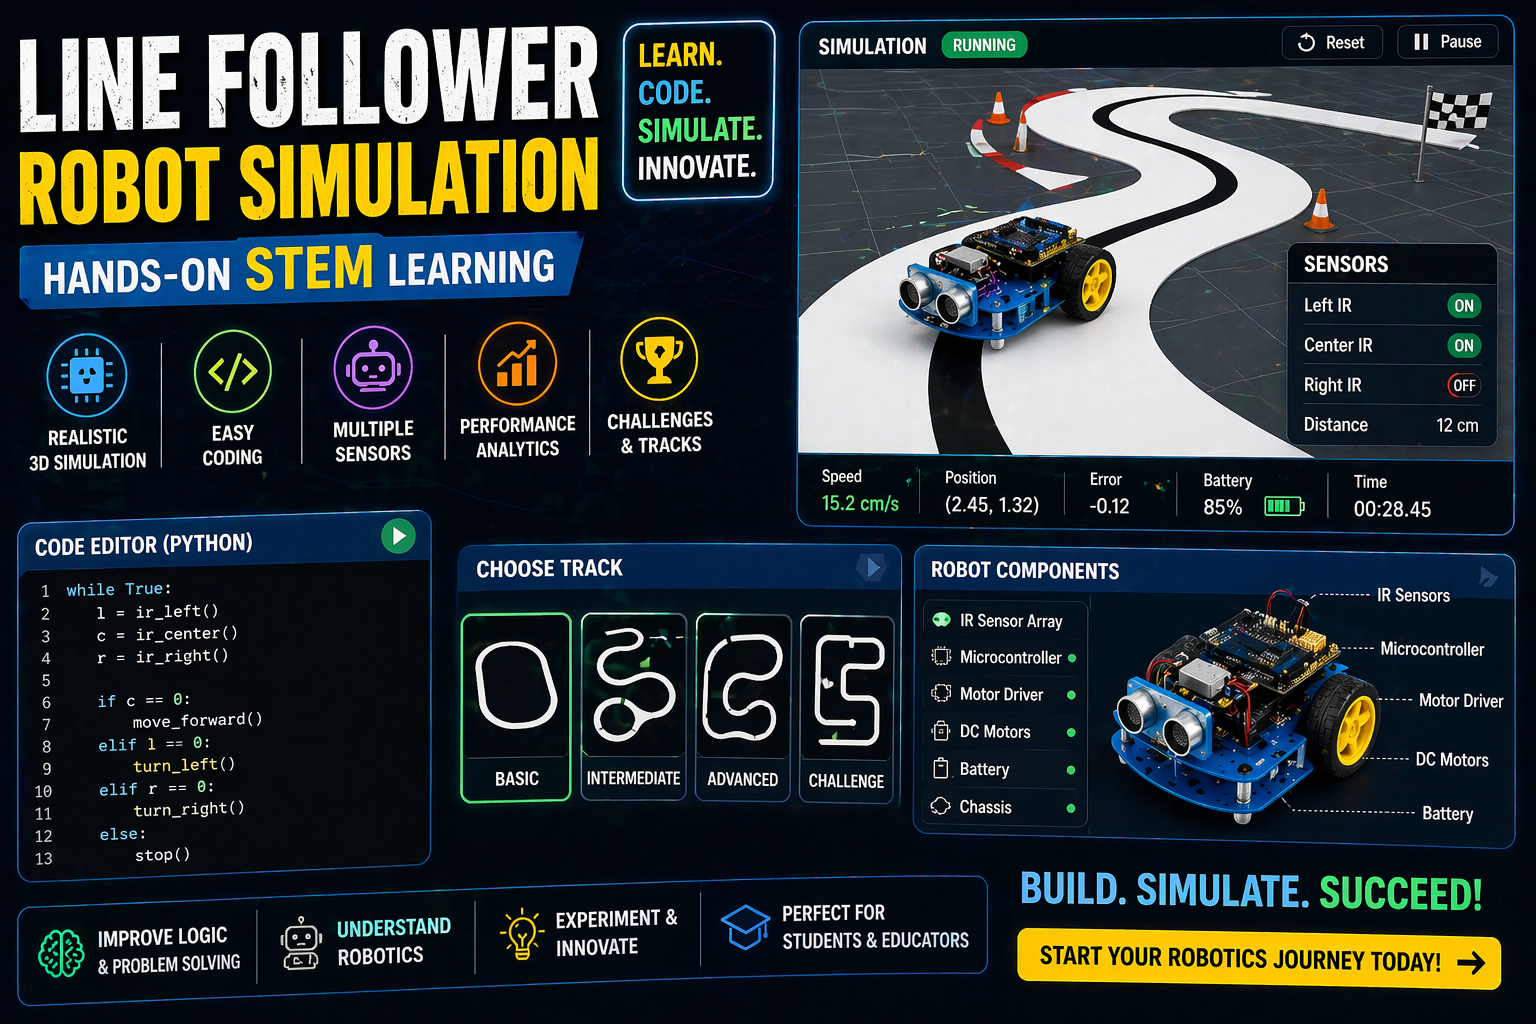
Stuck on your HC-SR04 ultrasonic sensor Arduino project? Want to build an obstacle-avoiding robot but don’t have a physical kit? SPYRAL’s browser-based robotics lab lets you design, wire, and code robots in 3D—no hardware required. Dive into how ultrasonic sensors detect obstacles, experiment with real-time variables, and see your robot react instantly. Perfect for CBSE/ICSE students and teachers in 2026!
Why This Matters: The Future of Robotics Learning in India
In India, robotics is no longer just a niche subject—it’s a key component of NEP 2020, emphasizing experiential learning and hands-on projects. For students, building an HC-SR04 ultrasonic sensor Arduino project isn’t just about coding; it’s about understanding physics, sensors, and real-world applications. Teachers, meanwhile, face the challenge of making robotics accessible without expensive kits or lab space. SPYRAL’s virtual robotics lab bridges this gap, offering a 3D robotics simulator online where students can build, test, and iterate—all in their browser.
Whether you’re preparing for CBSE practical exams, exploring NCERT robotics projects, or just curious about how robots “see” their environment, this guide will walk you through everything you need to know—without leaving your desk.
How Ultrasonic Sensors Work: The Science Behind Obstacle Avoidance
At the heart of every ultrasonic sensor robot project is the HC-SR04, a device that uses sound waves to measure distance. Here’s how it works:
- Sound Wave Emission: The sensor sends out a high-frequency ultrasonic pulse (typically 40 kHz) via its transmitter.
- Echo Detection: When the pulse hits an object, it bounces back as an echo, detected by the sensor’s receiver.
- Distance Calculation: The time between sending the pulse and receiving the echo is measured. Since sound travels at approximately 0.034 cm/µs in air, the distance (d) to the object is calculated as:
d = (Time × 0.034) / 2 (the division by 2 accounts for the round-trip of the sound wave).
For example, if the echo takes 0.00026 seconds to return, the distance is:
d = (0.00026 × 0.034) / 2 ≈ 4.42 cm.
This principle is the foundation of your HC-SR04 ultrasonic sensor Arduino project. In SPYRAL’s Obstacle Avoider Lab, you can see this in action—adjust the sensor’s trigger and echo pins, and watch your robot react in real time.
Why Ultrasonic Sensors Are Perfect for Beginners
Ultrasonic sensors are ideal for student projects because:
- Non-Contact Measurement: Unlike IR sensors, ultrasonic sensors work in low light and don’t require direct contact with objects.
- High Accuracy: With a range of 2 cm to 400 cm, they’re versatile for small-scale robots.
- Easy Integration: The HC-SR04 connects directly to Arduino via analog pins (TRIG on A0, ECHO on A1), making it beginner-friendly.
- Real-World Applications: From autonomous vacuums to self-driving cars, ultrasonic sensors are everywhere—making them relevant beyond the classroom.
In SPYRAL’s lab, you’ll wire the HC-SR04 to an Arduino Uno using an L298N motor driver, just like in a real project. The difference? You can test and debug instantly without waiting for parts to arrive.
Building Your Obstacle-Avoiding Robot: Step-by-Step in 3D
Ready to build your own ultrasonic sensor robot project? Here’s how to get started in SPYRAL’s virtual lab:
- Select the Obstacle Avoider Robot: Head to the Obstacle Avoider Lab and choose the robot kit. You’ll see the HC-SR04 ultrasonic sensor, Arduino Uno, L298N motor driver, and two DC motors.
- Wire the Components: Follow the visual wiring guide to connect the HC-SR04 to the Arduino (TRIG → A0, ECHO → A1). Then, connect the motors to the L298N driver and power them with the 7.4V LiPo battery. The lab shows you exactly where each wire goes.
- Write the Code: Use the block-based coding interface to set up the ultrasonic sensor. The lab provides pre-written code for obstacle detection, but you can tweak it to change how the robot reacts (e.g., stop vs. turn). For advanced users, switch to Arduino code in the Workbench.
- Test and Iterate: Place virtual obstacles in the lab’s 3D environment and watch your robot avoid them. Adjust the sensor’s sensitivity or motor speed to refine its behavior.
Pro Tip: Use the What-If mode in the lab to experiment with different scenarios. For example, what happens if you reduce the detection range from 25 cm to 10 cm? Try it and see!
Try This Simulation Free
Open the interactive simulation on anAIza School — no download, no signup needed.
Open Simulation →