Home › Robotics Lab › Obstacle Avoider
Obstacle avoiding robot simulator: build, wire and code it in 3D
Teach a robot to see a wall, and turn before it hits it.
Build an obstacle avoider from its parts: an HC-SR04 ultrasonic sensor on the front, an L298N motor driver and an Arduino Uno. Write the rule that decides what it does when something is in the way, and drive it round the room in 3D.
Free with a free account · Runs in the browser · Class 8 to 10
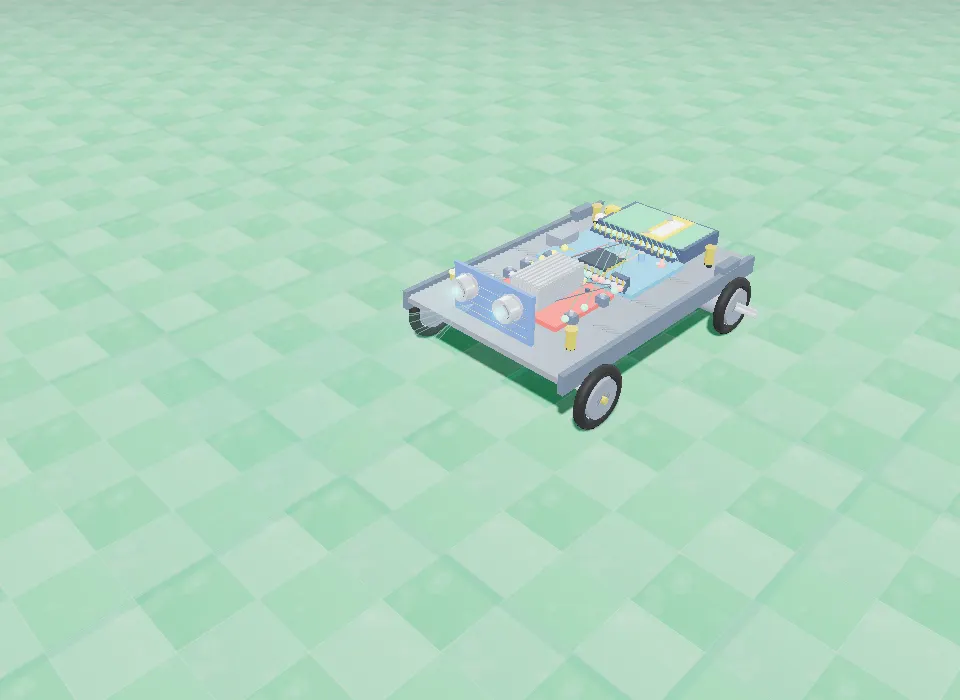
Your first robot that decides
One if/else turns a car into a robot: it measures, compares and chooses, many times a second.
Sound you can measure
The echo time becomes centimetres with speed of sound × time ÷ 2. Physics, used for a reason.
Crash it as often as you like
Set the stop distance too short and watch it hit the wall. No broken sensor, just a better number next run.
How the obstacle avoider works
The HC-SR04 sends a short burst of ultrasound and listens for the echo. The time the echo takes gives the distance: distance = time × 0.034 ÷ 2 centimetres (sound travels about 0.034 cm per microsecond, and the pulse goes there and back). The Arduino checks it again and again:
| Distance ahead | What the robot does |
|---|---|
| More than STOP_DIST (25 cm) | Drives forward at DRIVE_SPEED |
| Less than STOP_DIST | Stops, then spins right for half a second, then checks again |
Parts you build it from
Arduino Uno
Sends the trigger pulse, times the echo and drives the motors.
HC-SR04 ultrasonic sensor
Measures the distance to whatever is in front.
L298N motor driver
A dual H-bridge for the left and right motors.
Two DC motors and a 4-wheel chassis
Spinning one wheel forward and one back turns it on the spot.
7.4 V LiPo battery
Powers the motors through the L298N; ground shared with the Arduino.
Wiring
These are the connections the lab checks before it lets the obstacle avoider run.
| From | To |
|---|---|
| Battery (+) | L298N VCC |
| Battery (−) | L298N GND |
| Arduino GND | L298N GND |
| Arduino D3 / D4 | L298N IN1 / IN2 (left motor) |
| Arduino D5 / D6 | L298N IN3 / IN4 (right motor) |
| L298N OUT1 / OUT2 | Left motor (+ / −) |
| L298N OUT3 / OUT4 | Right motor (+ / −) |
| Arduino 5V / GND | HC-SR04 VCC / GND |
| Arduino A0 | HC-SR04 TRIG |
| Arduino A1 | HC-SR04 ECHO |
The code
This is the code the lab starts with. STOP_DIST decides how close is too close; DRIVE_SPEED and TURN_SPEED set how it moves.
// --- PIN DEFINITIONS (must match your wiring!) ---
#define TRIG_PIN  A0   // HC-SR04 TRIG -> Arduino A0
#define ECHO_PIN  A1   // HC-SR04 ECHO -> Arduino A1
#define IN1       3    // L298N IN1 -> D3  (Left motor forward)
#define IN2       4    // L298N IN2 -> D4  (Left motor reverse)
#define IN3       5    // L298N IN3 -> D5  (Right motor forward)
#define IN4       6    // L298N IN4 -> D6  (Right motor reverse)

// --- CHANGE THIS VALUE to control obstacle distance ---
#define STOP_DIST 25     // Stop & turn when < 25 cm (try: 15, 30, 40)
#define DRIVE_SPEED 180  // Straight-line speed (0-255)
#define TURN_SPEED  200  // Speed while spinning (0-255)

long getDistance() {
  digitalWrite(TRIG_PIN, LOW);
  delayMicroseconds(2);
  digitalWrite(TRIG_PIN, HIGH);
  delayMicroseconds(10);
  digitalWrite(TRIG_PIN, LOW);
  long dur = pulseIn(ECHO_PIN, HIGH);
  return dur * 0.034 / 2;  // distance in cm
}

void moveForward() {
  analogWrite(IN1, DRIVE_SPEED); digitalWrite(IN2, LOW);
  analogWrite(IN3, DRIVE_SPEED); digitalWrite(IN4, LOW);
}
void turnRight() {   // left wheel forward, right wheel backward: spins on the spot
  analogWrite(IN1, TURN_SPEED); digitalWrite(IN2, LOW);
  digitalWrite(IN3, LOW);       analogWrite(IN4, TURN_SPEED);
}
void turnLeft() {    // mirror image of turnRight()
  digitalWrite(IN1, LOW);       analogWrite(IN2, TURN_SPEED);
  analogWrite(IN3, TURN_SPEED); digitalWrite(IN4, LOW);
}
void stopMotors() {
  digitalWrite(IN1, LOW); digitalWrite(IN2, LOW);
  digitalWrite(IN3, LOW); digitalWrite(IN4, LOW);
}

void setup() {
  Serial.begin(9600);
  pinMode(TRIG_PIN, OUTPUT);   // we send the pulse
  pinMode(ECHO_PIN, INPUT);    // we listen for the echo
  pinMode(IN1, OUTPUT); pinMode(IN2, OUTPUT);
  pinMode(IN3, OUTPUT); pinMode(IN4, OUTPUT);
  stopMotors();
}

void loop() {
  long dist = getDistance();
  if (dist < STOP_DIST) {       // obstacle detected
    stopMotors();  delay(200);  // brake
    turnRight();   delay(500);  // try turnLeft() here
  } else {
    moveForward();              // clear path: go forward
  }
  delay(60);
}
Code it with blocks first
In the coding room it is built from blocks: repeat, if something is closer than 25 cm, distance ahead (cm), drive forward, turn left, back up, stop. The same decision, before the C++.
Try this in the lab
- Change
STOP_DISTto 15, then 40. Which one hits the wall? - Swap
turnRight()forturnLeft()and watch it turn the other way. - Put
moveForward()inside the if-block and watch it crash. Why? - Make it back up before it turns, using the blocks in the coding room.
Obstacle Avoider: common questions
How does an obstacle avoiding robot work?
An ultrasonic sensor on the front measures the distance ahead many times a second. When the distance drops below a set value (25 cm in the lab's code), the Arduino stops the motors and turns the robot before driving on.
How does the HC-SR04 measure distance?
It sends a 10-microsecond pulse of ultrasound and times the echo. Distance in centimetres is the echo time in microseconds × 0.034 ÷ 2, because the sound goes to the object and back.
What parts does it need?
An Arduino Uno, an HC-SR04 ultrasonic sensor, an L298N motor driver, two DC motors on a chassis and a 7.4 V battery. The simulator has the same parts.
Can I use this code on a real robot?
Yes, with the same wiring. Keep the ENA and ENB jumpers on the L298N and share the battery ground with the Arduino before you flash it.
Is the obstacle avoider simulator free?
Yes. The Obstacle Avoider is free with a free SPYRAL account, including its coding room and the advanced lab.
Other robots in the lab
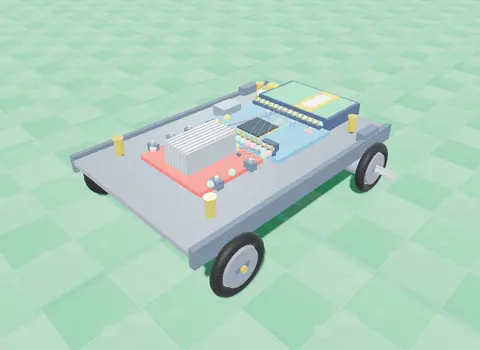
Line Follower
Two IR sensors under the chassis watch a black track; the Arduino drives one wheel faster to stay on it.
Line Follower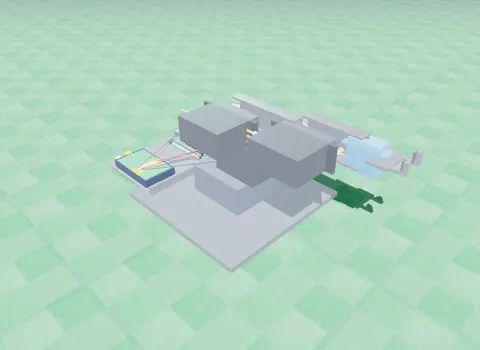
Robotic Arm
Three servo joints and a gripper: program a pick-and-place sequence and work out where the hand goes from two angles.
Robotic Arm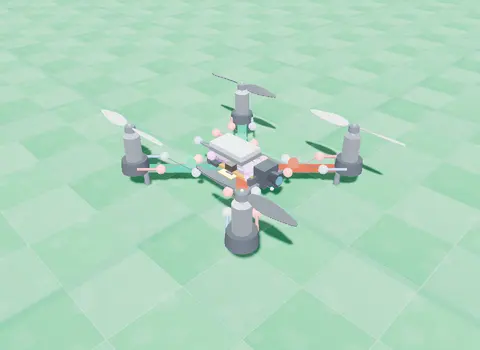
Nano Drone
A small quadcopter: learn lift and thrust, then take off, turn, hover and land with blocks you write.
Open the Nano Drone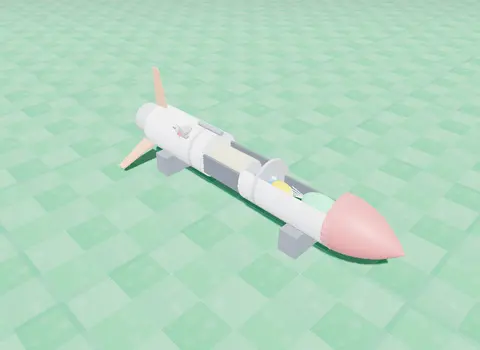
Rocket
Stack the stages and a flight computer, then code ignition, staging, the top of the flight and the parachute.
Rocket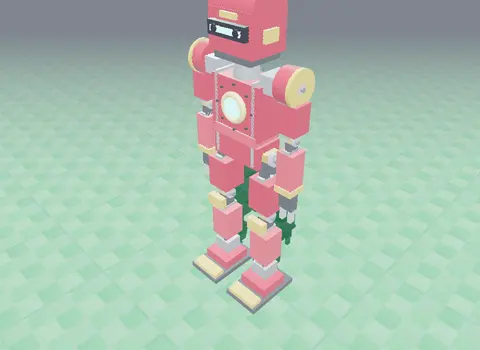
Humanoid
A servo-driven walking robot with real torque limits and friction: tune its balance until it walks.
HumanoidRead more: an obstacle avoider simulation guide · obstacle avoiding robot simulation
Build the obstacle avoider today. No kit, no installs.