Home › Robotics Lab › Robotic Arm
Robotic arm simulator: angles, torque and a pick-and-place you code
Two angles decide where the hand goes. Your equations decide if it can lift.
A robotic arm with a rotating base, a shoulder, an elbow and a gripper, driven by servos. Students work out where the hand will be before they move it, check the torque on the shoulder before they lift, and code a pick-and-place mission in 3D.
First room free · full arm with a plan · Runs in the browser · Class 9 to 12
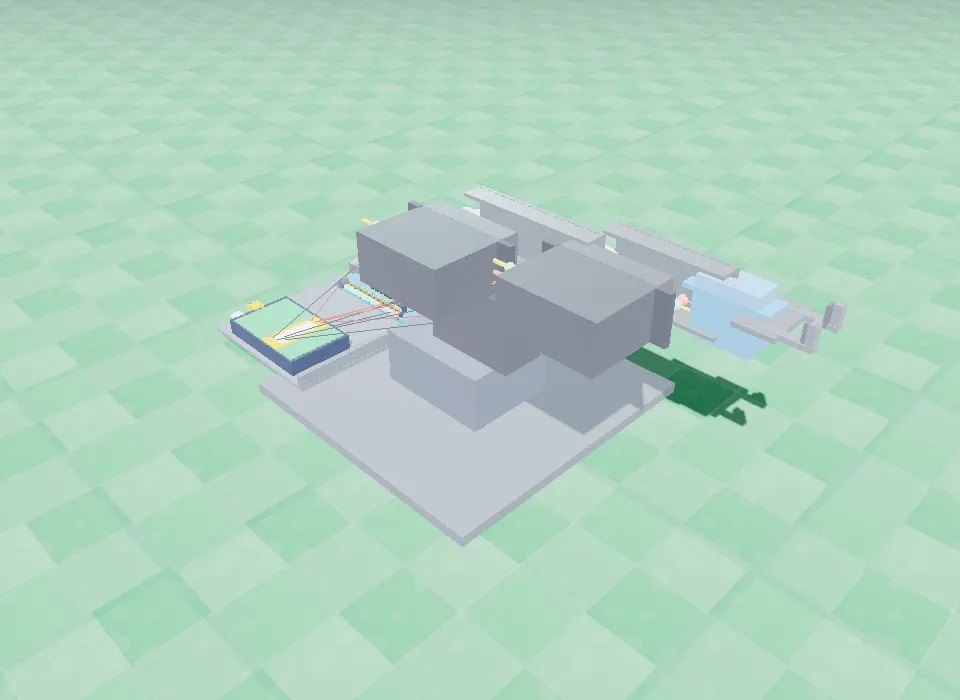
Trigonometry with a reason
Reach and height come from two angles and two arm lengths. Students predict the point, then move the arm and check.
Physics before force
Torque = force × distance, and only the horizontal part counts. The arm refuses a load the servo cannot hold.
No stripped gears
Overload a real servo and it is gone. Here the arm says no, and the student learns why.
How the robotic arm works
The base turns the arm left and right; it never changes the height. The shoulder and elbow angles together decide how far out and how high the hand is. Each move is three numbers: base, shoulder, elbow.
Before lifting, the code asks its own torque(): the block's weight times the horizontal distance from the shoulder. If that is more than the servo can give, it does not try. The grip must squeeze hard enough that friction carries the weight: μ × F ≥ m × g.
Parts you build it from
Base servo
Turns the whole arm; wired to pin 9.
Shoulder servo
Carries the most load; pin 10.
Elbow servo
Sets the forearm angle; pin 11.
Gripper servo
Opens and closes the jaws; pin 6.
Arm links
Shoulder to elbow 7.02 cm, elbow to the jaws 7.63 cm.
The code
In the lab the library only attaches the servos and waits for each joint to arrive. It does not work anything out: the student writes the equations and the mission. An excerpt of the starting code:
// Robotic Arm - SPYRAL Robotics Lab (an excerpt)
// The library attaches the servos; YOU write the equations and the mission.
#include "SpyralArm.h"
SpyralArm arm;
//   arm.L1  7.02 cm   shoulder to elbow
//   arm.LE  7.63 cm   elbow to the jaws
#define BLOCK_MASS  0.050     // kg

// Friction has to carry the weight:  mu * F  >=  m * g
float gripForce(float m){
  return m * 9.81 / 0.55;
}
// A moment is force times distance; only the horizontal part counts against gravity
float torque(float m, float L, float th){
  return m * L * cos(radians(th));
}

void loop(){
  // Ask your own torque() first: is this even liftable?
  float load = torque(BLOCK_MASS, arm.LE, 0);
  if (load > arm.SERVO_STALL) {
    Serial.println("too much for this servo. Not lifting.");
    return;
  }
  arm.moveTo(40, 60, 92);   // base, shoulder, elbow: over the block, high
  arm.waitUntilStill();
  arm.moveTo(40, 30, 95);   // down to the table
  arm.waitUntilStill();
  arm.close(BLOCK_MASS);    // squeeze, using YOUR gripForce()
  arm.waitUntilStill();
  arm.moveTo(40, 60, 92);   // lift it clear
}
Code it with blocks first
Rooms for Physics, Maths, Coding and "Move it". The Maths room asks for the reach, the height and the straight line to the hand before the arm moves, with blocks like move it to base 90 shoulder 90 elbow 180 and square root of.
Try this in the lab
- Predict where the hand will be at shoulder 60°, elbow 90°. Then move it and measure.
- Raise the block mass until the arm refuses to lift. What was the torque?
- Change the friction in
gripForce()and watch the block slip. - Code a pick-and-place that moves a block to a new spot and comes home.
Robotic Arm: common questions
What can students do with the robotic arm simulator?
Predict where the hand goes from the joint angles, check the shoulder torque before lifting, set the grip force, and code a pick-and-place sequence, all in 3D in the browser.
How many joints does the arm have?
A rotating base, a shoulder and an elbow, each driven by a servo, plus a servo gripper.
Which maths and physics does it use?
Trigonometry for reach and height from two angles, torque (force × horizontal distance) for what the shoulder can hold, and friction (μ × F ≥ m × g) for the grip.
Is the robotic arm free?
Its first room (Physics) is open with a free account; the Maths, Coding, Move it and advanced rooms come with a paid plan.
Other robots in the lab
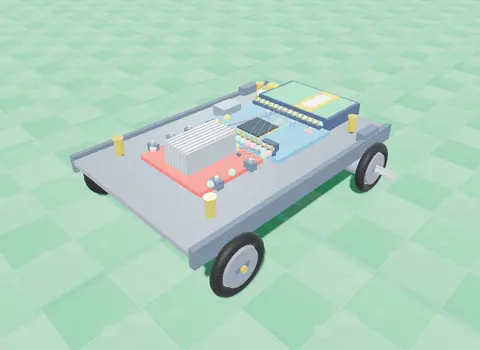
Line Follower
Two IR sensors under the chassis watch a black track; the Arduino drives one wheel faster to stay on it.
Line Follower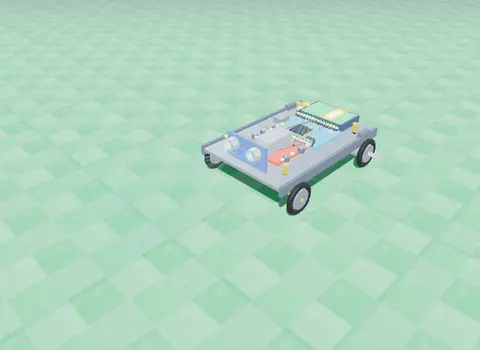
Obstacle Avoider
An ultrasonic sensor measures the distance ahead; an L298N driver and your code make it turn away from walls.
Obstacle Avoider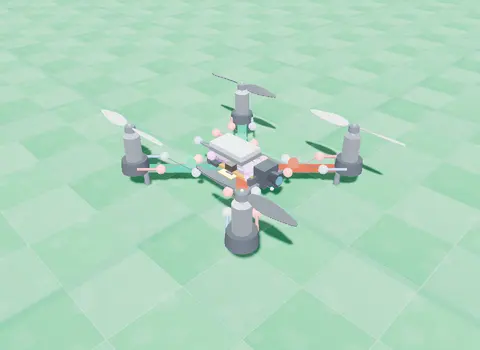
Nano Drone
A small quadcopter: learn lift and thrust, then take off, turn, hover and land with blocks you write.
Open the Nano Drone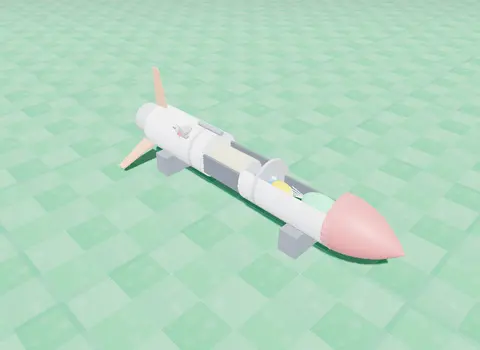
Rocket
Stack the stages and a flight computer, then code ignition, staging, the top of the flight and the parachute.
Rocket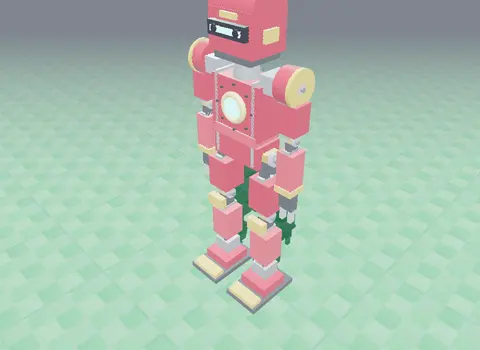
Humanoid
A servo-driven walking robot with real torque limits and friction: tune its balance until it walks.
HumanoidRead more: robotic arm simulation online · what a robotic arm costs
Build the robotic arm today. No kit, no installs.