Home › Robotics Lab
Virtual Robotics Lab: build, wire and code six robots in 3D
Build robots part by part, wire by wire, without buying a single kit.
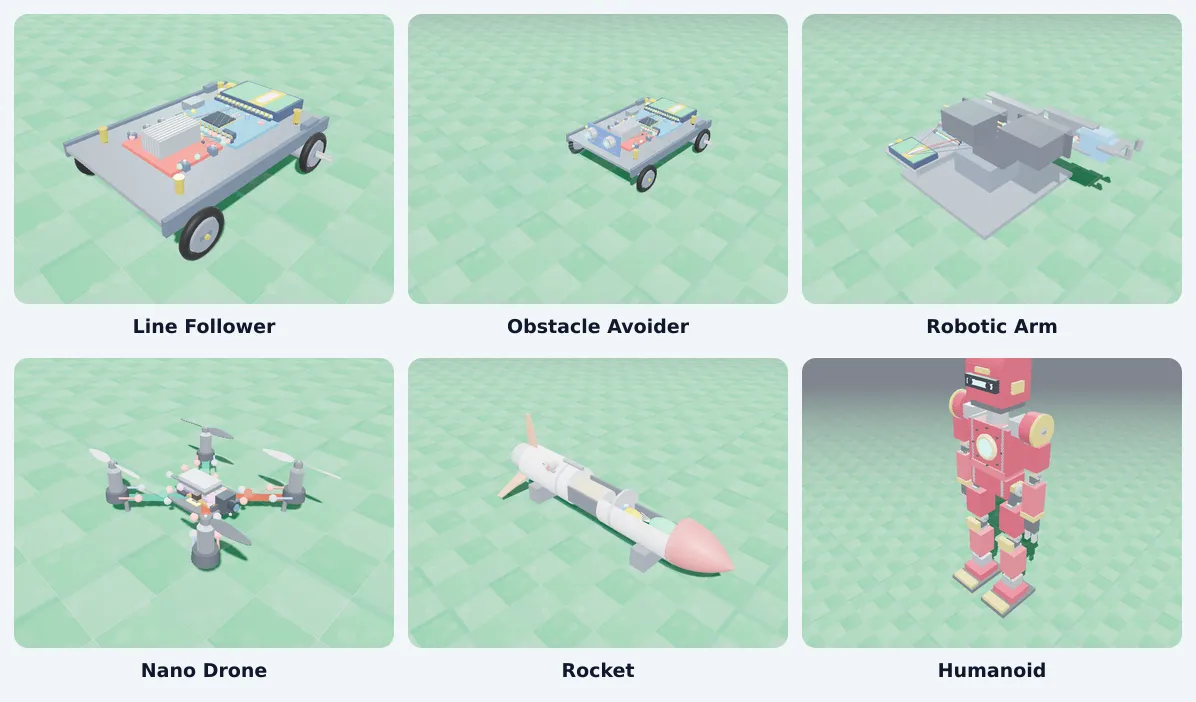
Six robots in 3D, in the browser: a line follower, an obstacle avoider, a robotic arm, a nano drone, a rocket and a humanoid. Students assemble the parts, connect them to an Arduino, write the code and watch it run.
The Line Follower and the Obstacle Avoider are free with a free account. No kit or installs needed.
Why schools and students start here
Save your hardware budget
Start robotics before you buy a single kit. The whole class builds, codes and tests in the browser, and you buy hardware only for what is worth building for real.
Every student builds, not one group
No more five students crowding one kit while the rest watch. Everyone wires and codes their own robot, at the same time.
Nothing breaks, nothing burns
A wrong wire is a click to fix, not a burnt board. Students can try the risky idea, crash the robot and reset it in a second.
Real Arduino code, real wiring
The pins, the L298N driver and the sensors are wired the way a real robot is. The code a student writes is the code a real robot runs.
Blocks today, C++ tomorrow
Start with blocks in the coding room. When they are ready, students open the Arduino code and see the same logic written out.
Practise at home, not just in the lab period
The lab opens on any computer with a browser, so practice does not stop when the lab room is locked.
The six robots
 Class 8 to 10 · Free
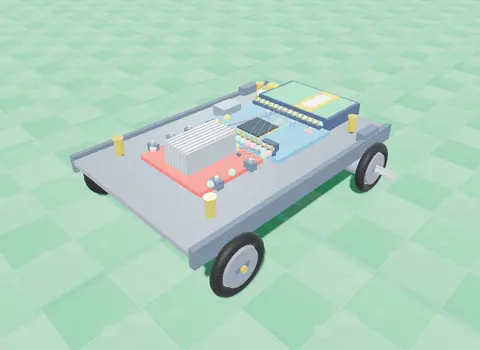
Line Follower
Two IR sensors under the chassis watch a black track; the Arduino drives one wheel faster to stay on it.
Line Follower: how it works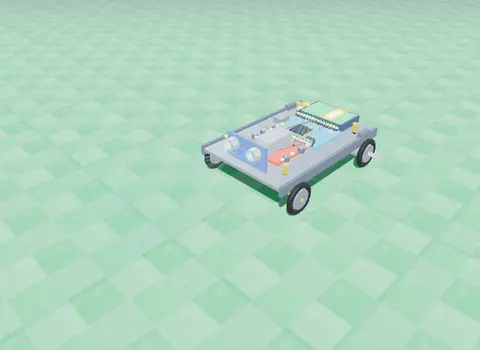 Class 8 to 10 · Free
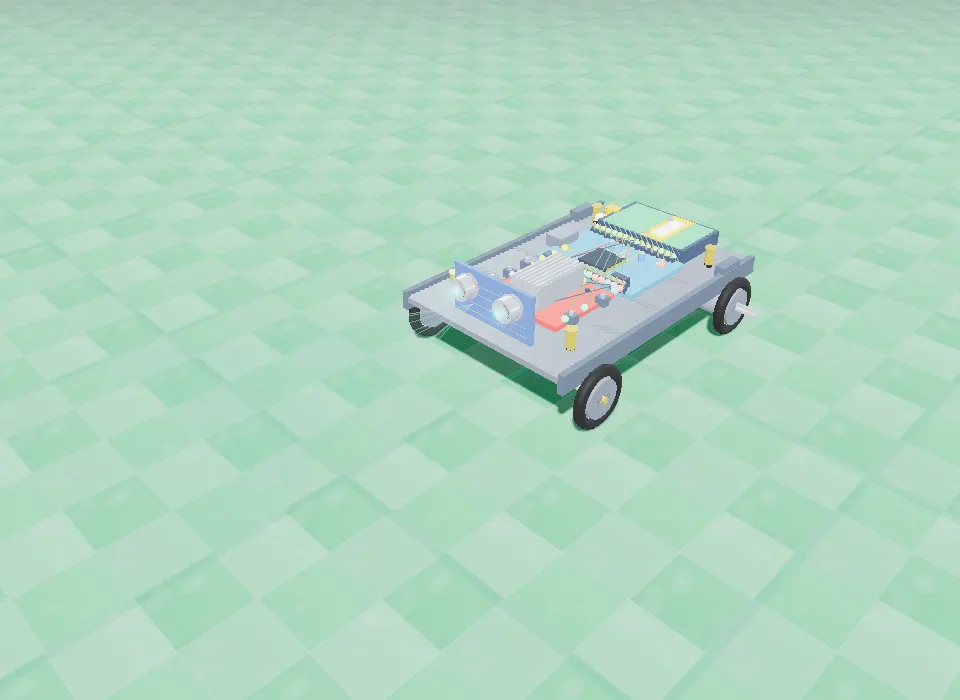
Obstacle Avoider
An ultrasonic sensor measures the distance ahead; an L298N driver and your code make it turn away from walls.
Obstacle Avoider: how it works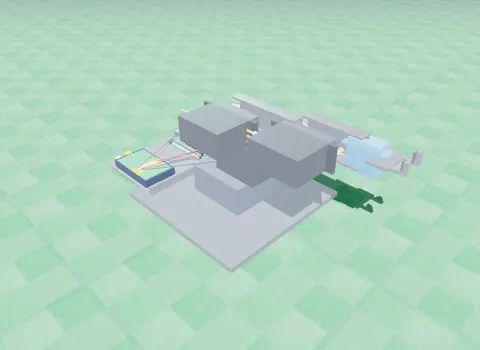 Class 9 to 12
Robotic Arm
Three servo joints and a gripper: program a pick-and-place sequence and work out where the hand goes from two angles.
Robotic Arm: how it works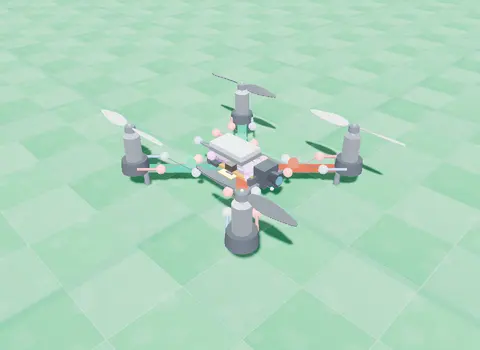 Class 9 to 12
Nano Drone
A small quadcopter: learn lift and thrust, then take off, turn, hover and land with blocks you write.
Open the Nano Drone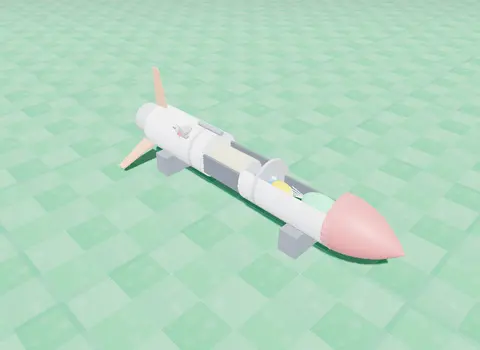 Class 9 to 12
Rocket
Stack the stages and a flight computer, then code ignition, staging, the top of the flight and the parachute.
Rocket: how it works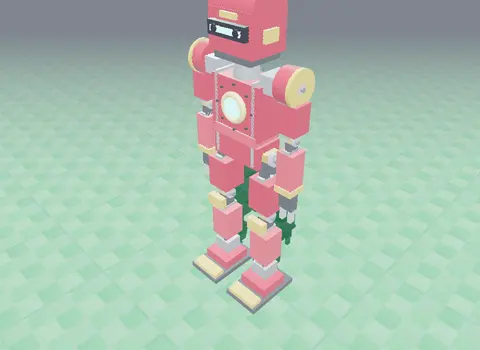 Class 9 to 12
Humanoid
A servo-driven walking robot with real torque limits and friction: tune its balance until it walks.
Humanoid: how it worksHow the lab works
- Build. Add the chassis, then the controller, the motor driver, the sensors and the battery; each part snaps into place.
- Wire. Click a pin, then the pin it goes to. The lab lists every connection the robot needs and checks the circuit.
- Code. Start with blocks in the coding room, or open the Arduino code in the advanced lab and change it.
- Run. Press Run and watch the robot follow the line, avoid the wall, pick the block, fly or walk in 3D.
- Fix and try again. Change one value, run again, and see what changed. That is how real robots are tuned.
What students learn
Sensors (IR and ultrasonic), DC motors and the L298N motor driver, PWM speed control, if/else decisions, loops and variables in Arduino code, servo angles and reach for the robotic arm, lift and thrust for the drone, staging for the rocket, and balance and torque for the humanoid.
Every robot connects the code to physics and maths the student meets in Class 6 to 12, so a concept is seen working, not just read.
A kit lab, or a virtual lab first?
| A lab built on kits | SPYRAL Robotics Lab | |
|---|---|---|
| To get started | Kits, tools, spare parts and a room | A browser |
| Who builds | A group shares each kit | Every student, at once |
| A wrong connection | A burnt part to replace | Click to fix, reset and try again |
| Practice outside the period | Only when the lab is open | At home, on any computer |
| Six different robots | Six different kits | One lab |
A good path: learn and test here, then build the best design with real parts.
For schools: a robotics lab for every student
A physical robotics lab is limited by kits, space and time. In the browser, a whole class builds the same robot at once, at home or in the computer lab, and the hardware can come later. The Robotics Lab is part of SPYRAL with the AI Lab and the science and maths simulations.
Questions about the Robotics Lab
What is a virtual robotics lab?
A virtual robotics lab lets students build a robot from its parts on screen, connect the wires to an Arduino, write the code and run it in a 3D simulation, before or instead of buying a kit. SPYRAL's lab runs in the browser with no installs.
Which robots can students build?
Six: a Line Follower, an Obstacle Avoider, a Robotic Arm, a Nano Drone, a Rocket and a Humanoid. Each is built part by part, wired and run in 3D.
Is the Robotics Lab free?
The Line Follower and the Obstacle Avoider are free with a free account, and the first room of the other four robots is open too. The rest of the lab comes with a paid plan for a learner, an educator or a school.
Do we need a robotics kit or hardware?
No. Everything is simulated in the browser. The Arduino code a student writes follows real pin wiring, so the same project can later be built with a real kit.
Which classes is it for?
Class 6 to 12. The Line Follower and Obstacle Avoider suit Class 8 to 10; the Robotic Arm, Nano Drone, Rocket and Humanoid go further into physics and maths for Class 9 to 12.
Can students code with blocks?
Yes. Each robot has a coding room with blocks (for example "if the LEFT eye is on the line"), and an advanced lab where students edit the Arduino code itself.
How does a school use it?
Every student gets the lab in the browser, so a whole class can build the same robot at once without a physical lab. Schools add it with a school plan; see the For schools page.
Your students can build their first robot today.
No kit to order, nothing to install. Open the lab and start with the Line Follower.